Ice skating tours on natural ice in Sweden (nordic ice skating)
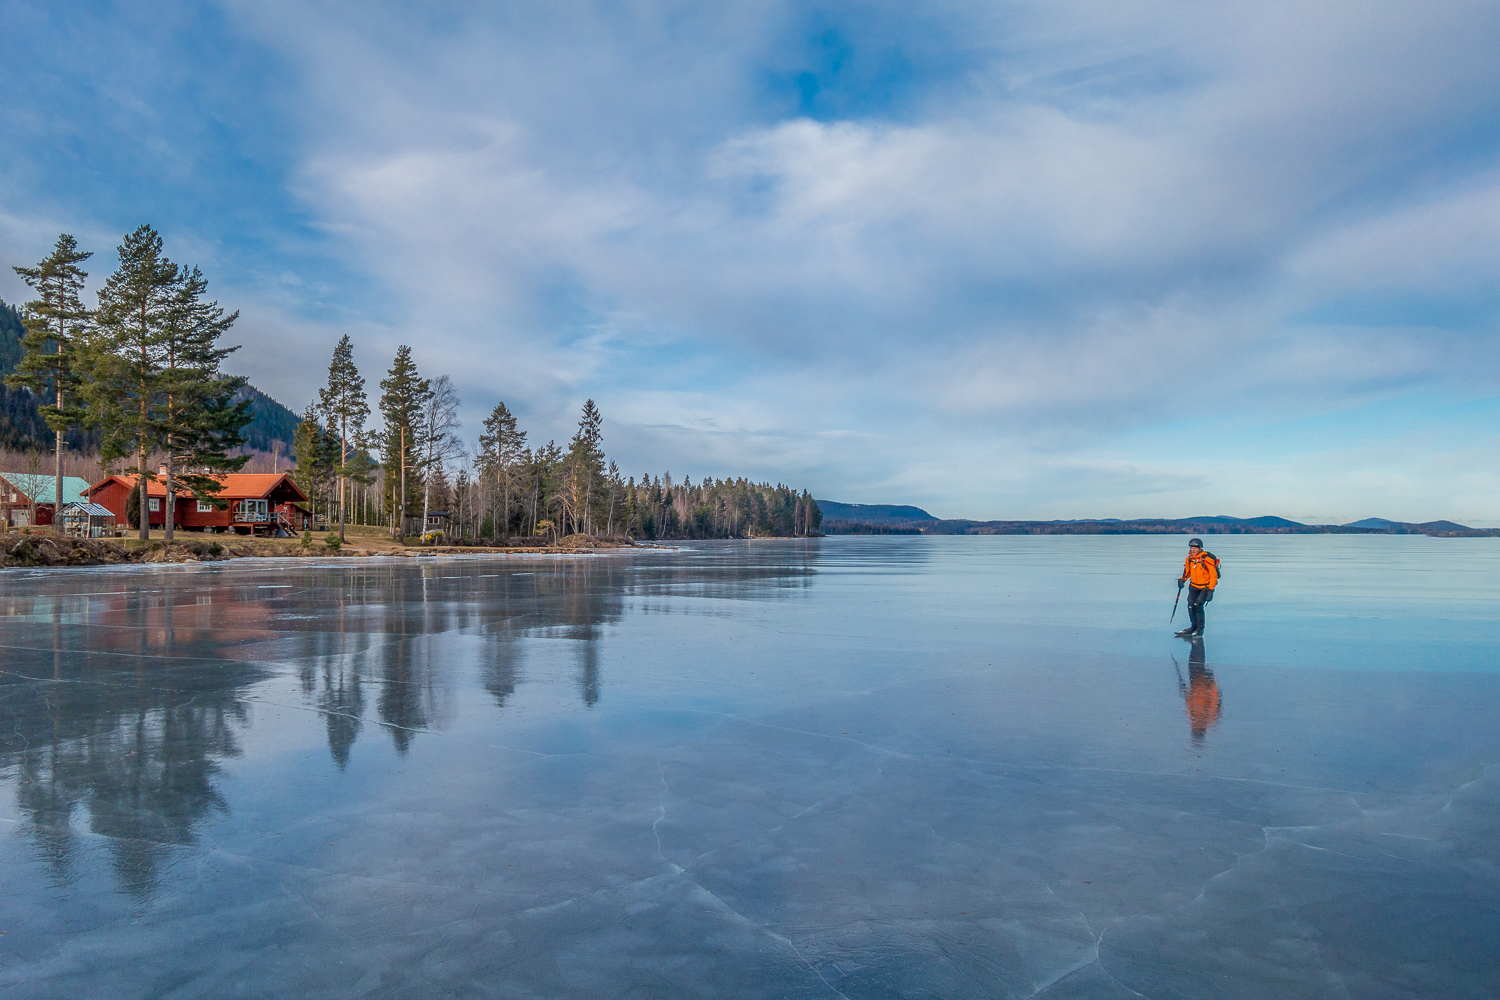

The Uppsala-Stockholm region of Sweden is blessed with the ideal climate for ice skating on natural ice - snowfall is limited, the winters are cold enough for thick ice to be established on the lakes for several months, but temporary thaws happen often and can clear up any snow that may have covered the ice. Even after a heavy snowfall, larger lakes or parts of the sea that haven't yet frozen can soon be skatable. So between the beginning of December and the end of March it's rare for there not to be some skatable natural ice within driving distance, and usually there will be an abundance. This has led to outdoor skating becoming a popular sport that thousands of people of all ages enjoy at weekends. There is a lot of information available in Swedish, but very little in English, so this brief introduction is aimed at visitors to Sweden who may be wondering about the sport. It's not a manual that will allow you to head out on to natural ice by yourself, but will hopefully encourage you to pursuade your experienced friends to take you out.
Skates
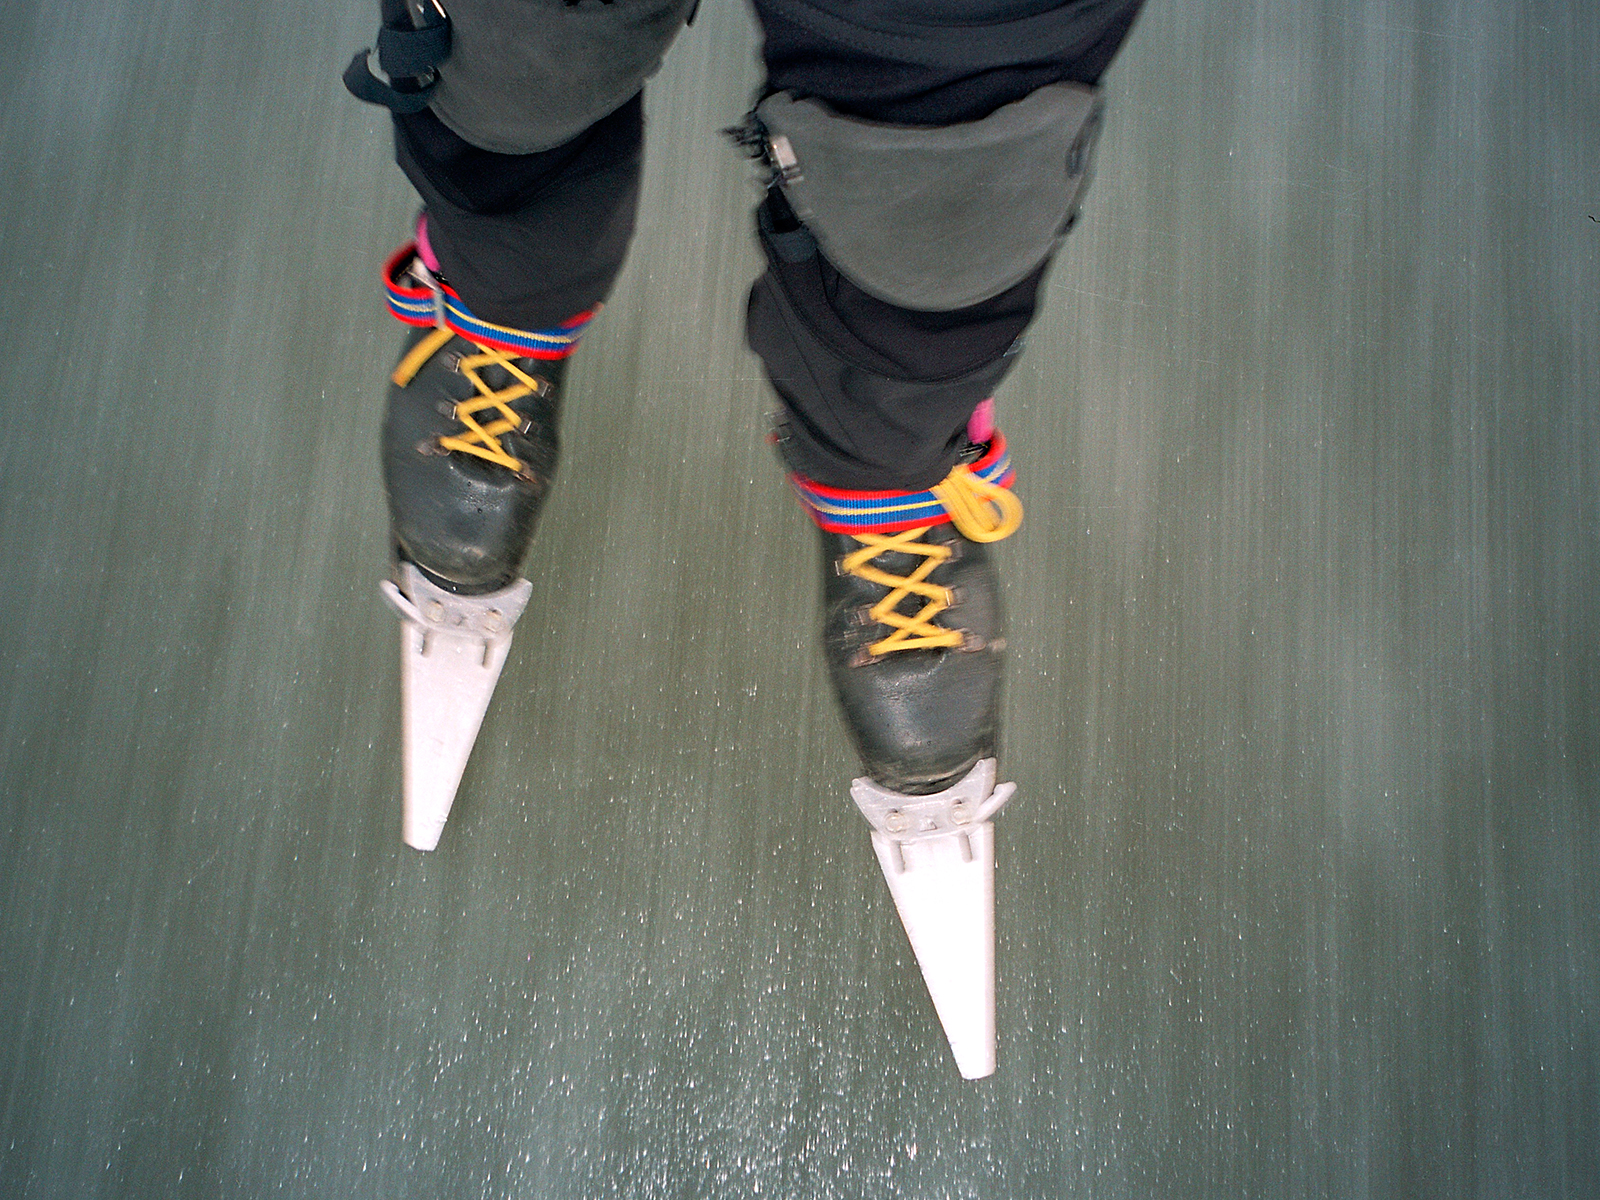
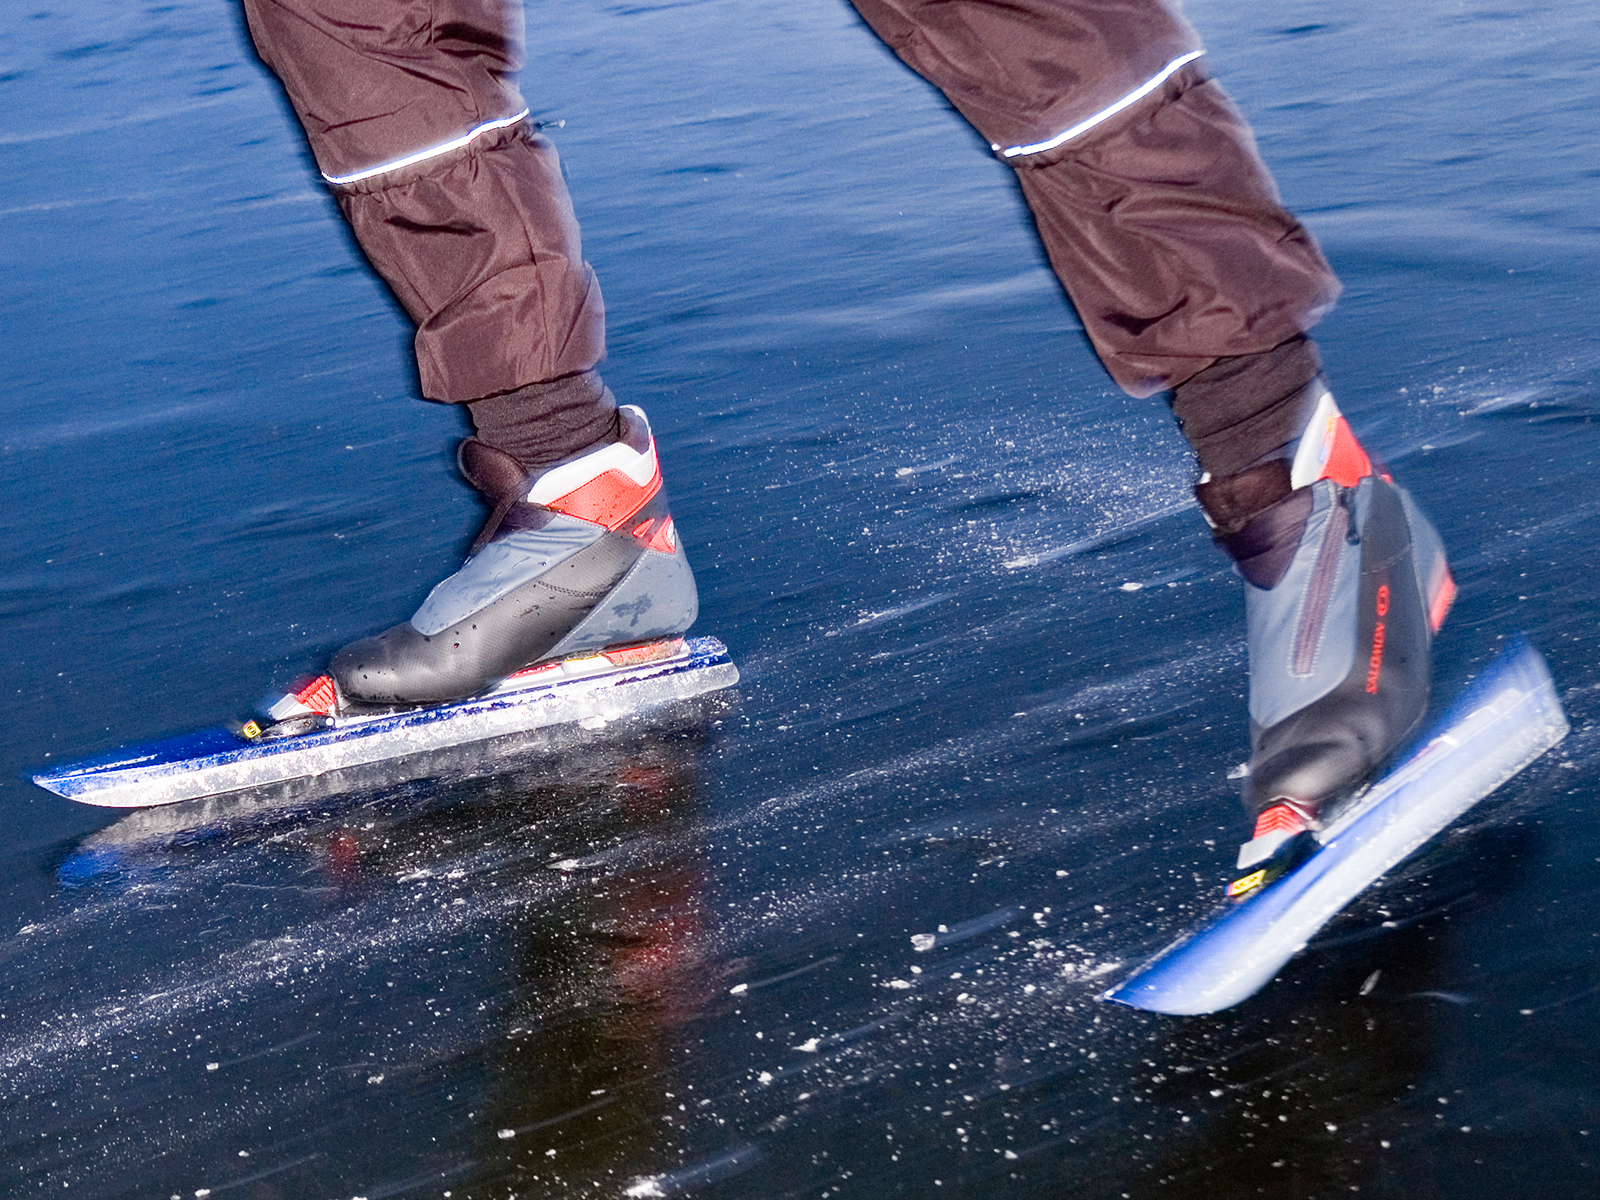 The skates used here are not like the integrated boots used by hockey players
or figure skaters, but consist of longer, thinner blades that are attached
to normal winter boots, or more usually, cross-country skiing boots.
The traditional design is fixed along the length of the boot, but the latest
fashion is to have a loose heel like speed skaters have. These are marginally faster
under perfect conditions, but are a liability when the ice surface is bad, causing falls,
especially when there is snow on the surface. For most hobby skaters, the biggest argument for
choosing them is that the compatible boots are generally lighter than
the boots used with fixed heel.
Not needing to be as manoeuvrable as hockey or figure skates, long-distance (nordic) skates are much more stable and efficient, and beginners usually have no trouble skating 10km or more on their first trip, even if they wobble and tire when on hockey skates. This stability comes from long-distance skates being much longer and flat-ground with a curvature of around 20m compared to 3-4m hollow-ground for hockey skates.
Tours
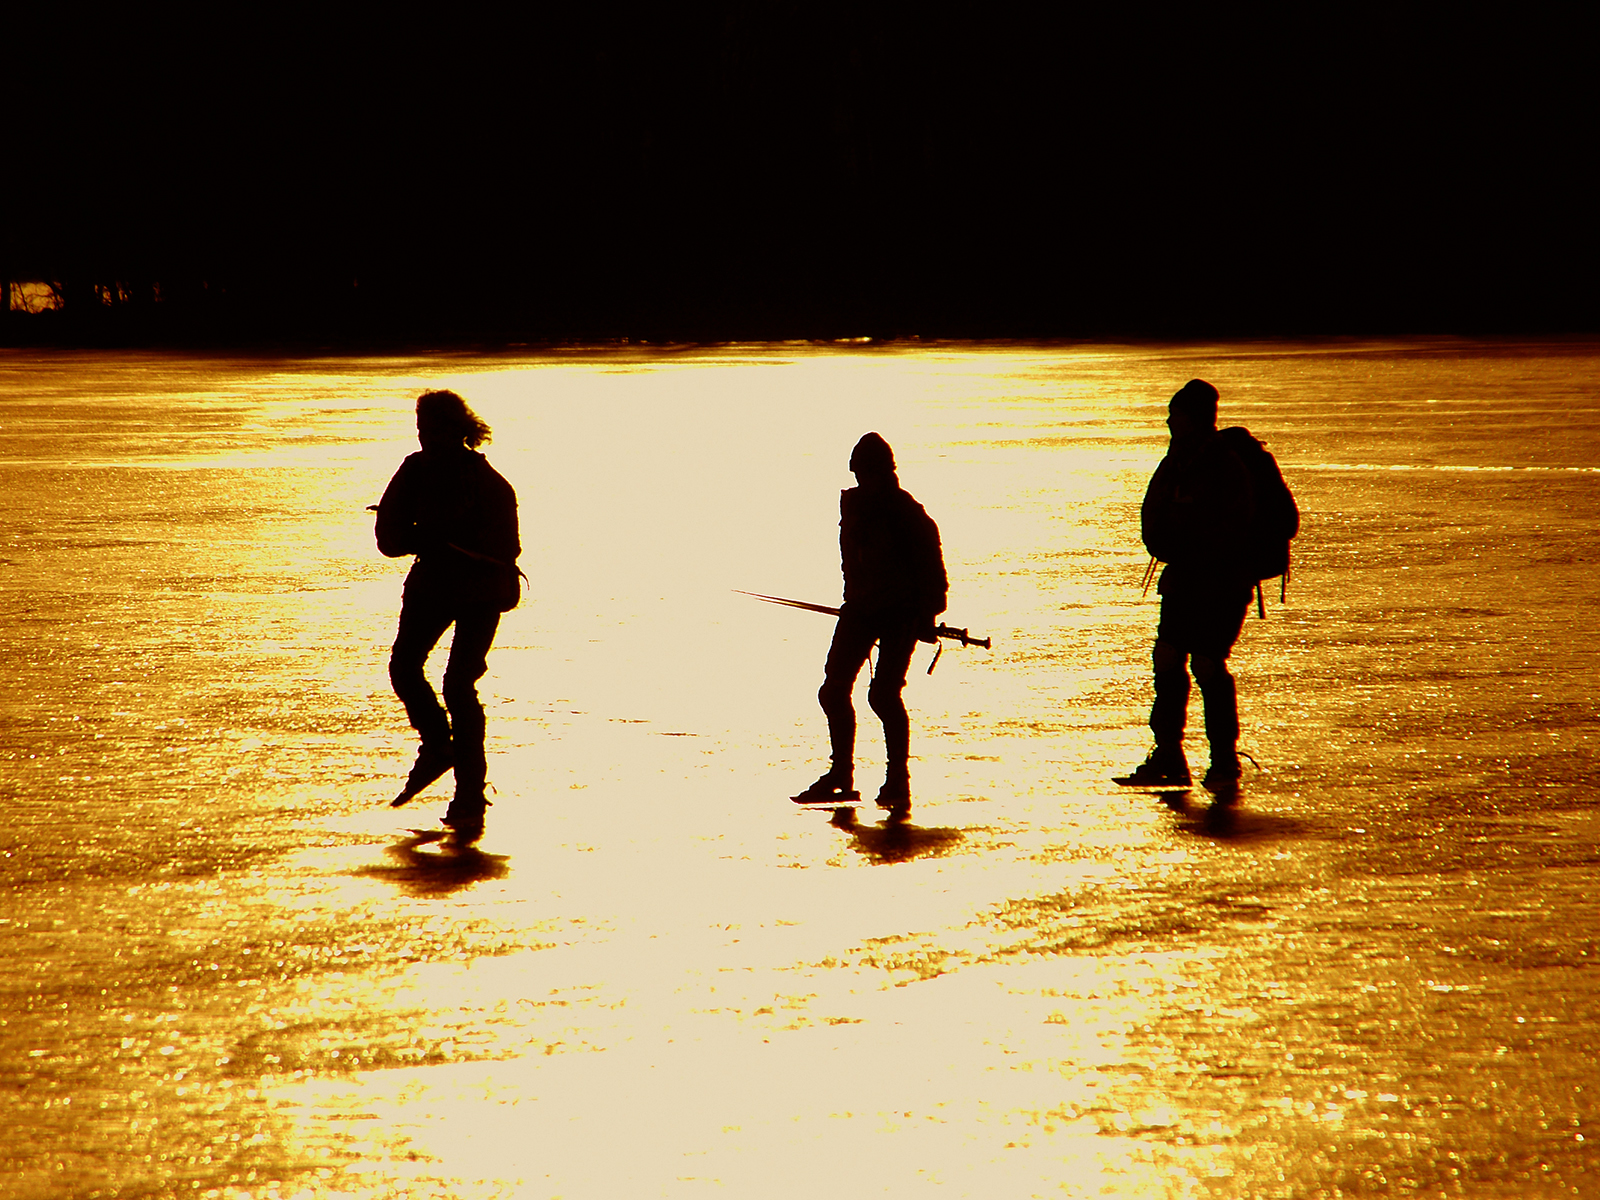
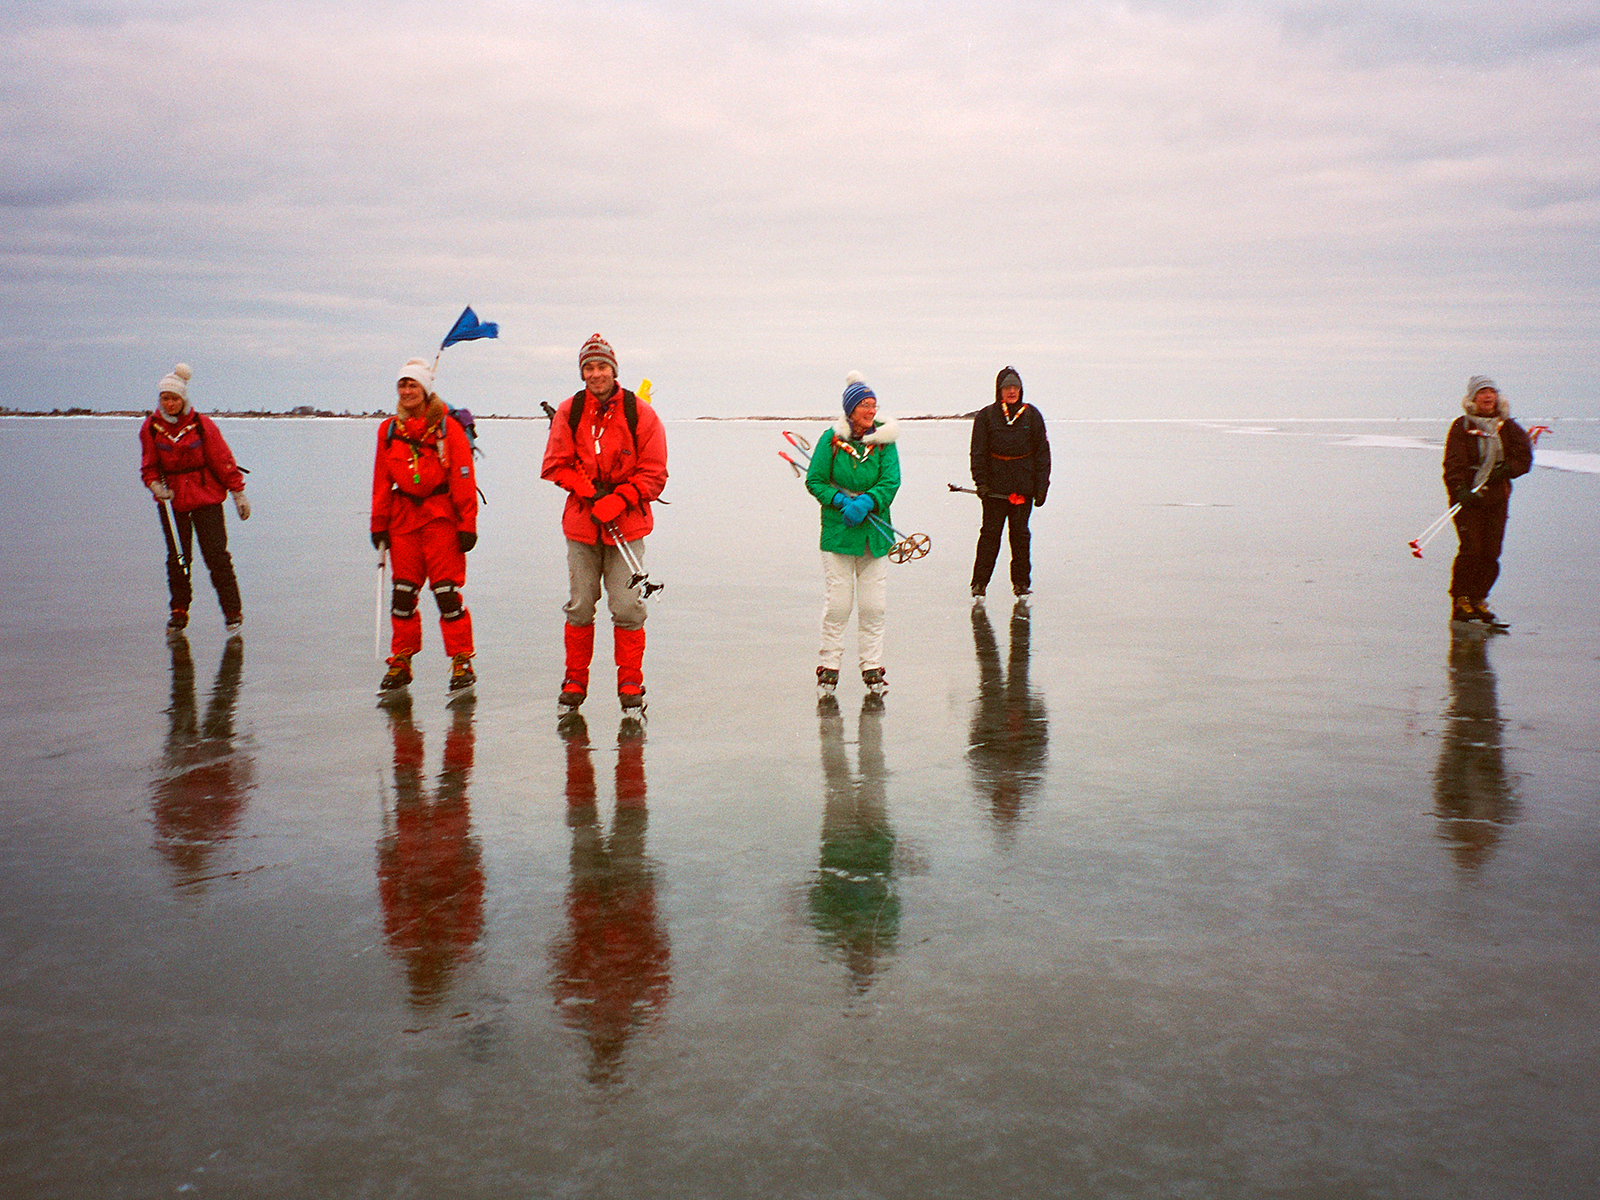 How far people skate on a typical day trip is roughly similar to how far they
would go on a bicycle trip in the summer - even completely untrained skaters
can enjoy a 10km loop on the local lake with a picnic stop in the middle,
whereas regular weekend skaters will probably aim for a 20-30km trip,
and real enthusiasts will travel 100km or more, the limit usually being dictated by daylight.
The typical weekend skaters average about 10km an hour, the enthusiasts twice that.
Most people follow well-established local routes in small private groups, but there are also many clubs that organise tours. The advantage of these is that the club will have checked out the ice the day before, organises transport to the best conditions, and takes on most of the responsibility for safety. All very comfortable and nice, but not very adventurous, so there is another group of skaters who use up-to-date ice reports in the newspapers, on club telephone message services, and increasingly on the web, to plan their own trips on more-or-less unknown ice. (Update 2024 : It turns out this internet thing has become quite popular and is probably here to stay, so we no longer have to wait for tape recorders to rewind to get our ice information through a dial phone, but I'm going to leave that reference in for historians to laugh over later).
Rivers tend to have poor ice, so most tours are on lakes or canals, but for the experienced there is nothing to beat a tour out on the open sea. With low salinity and minimal tides, the Baltic Sea is one of the few seas that allows safe long distance touring on skates.
Safety
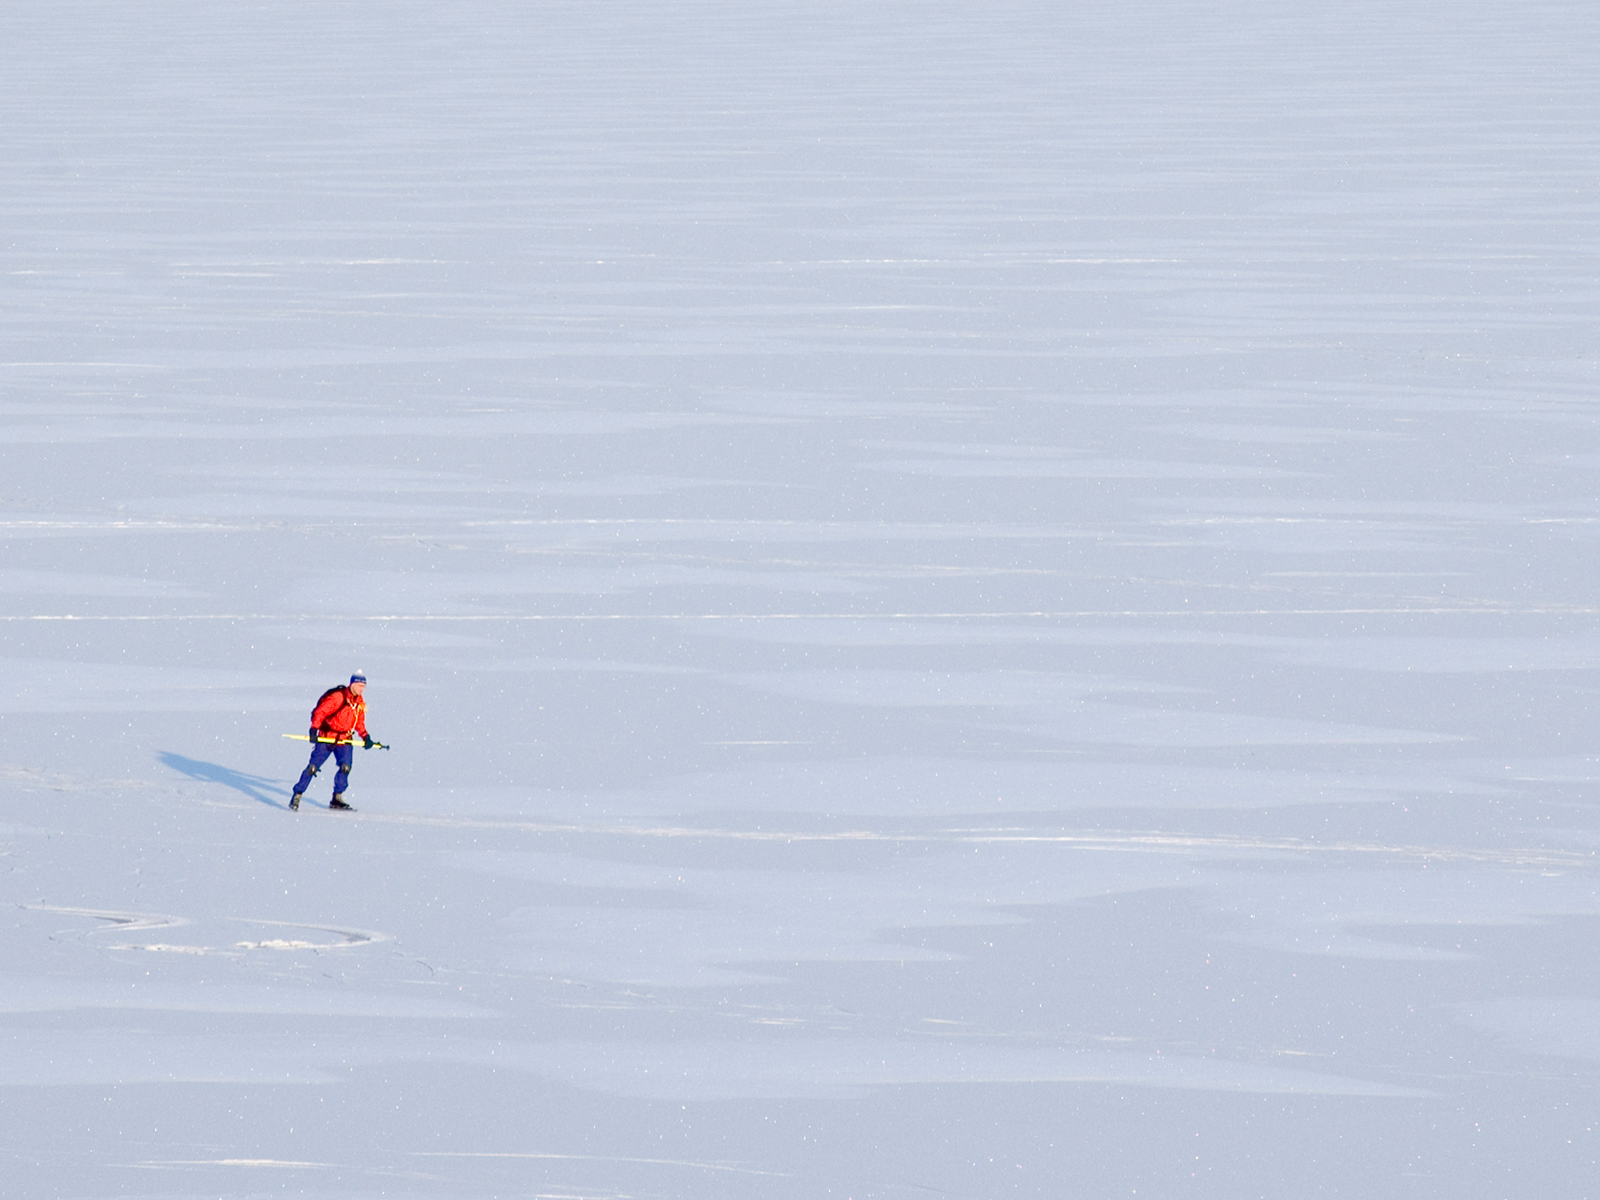
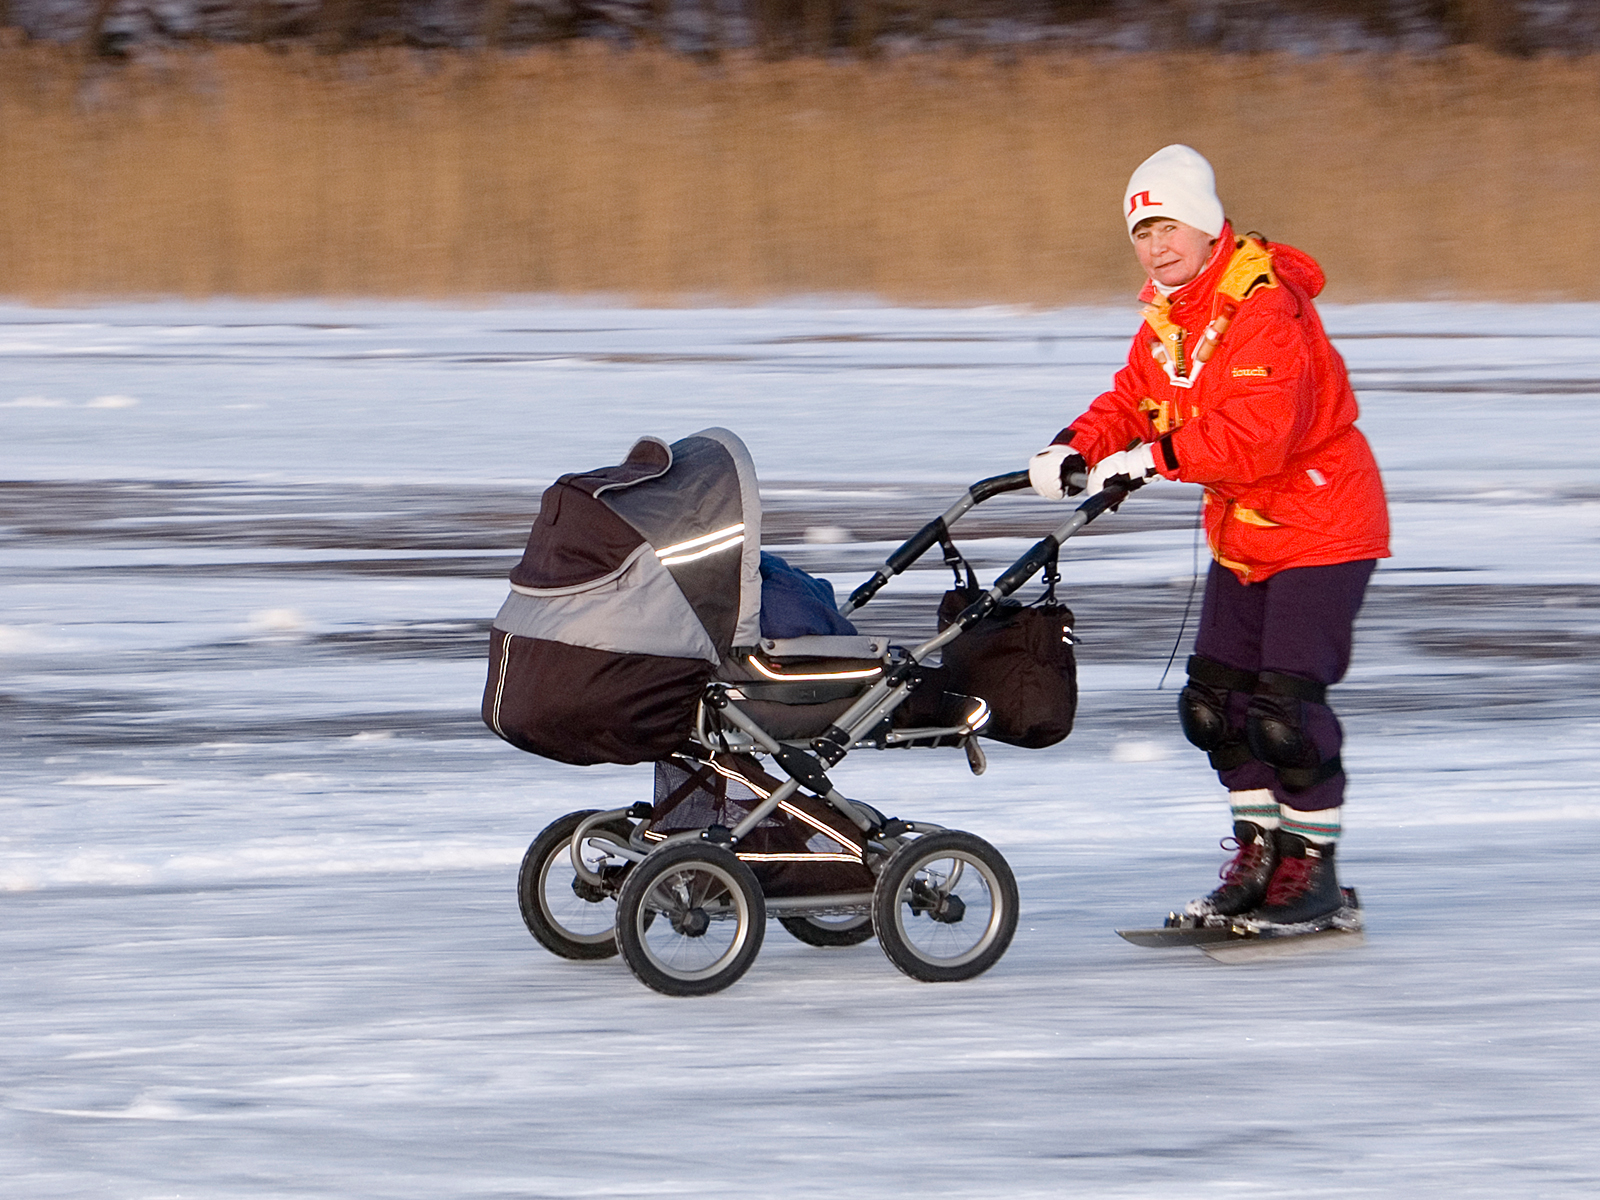 In Sweden there are no official proclamations about the safety of particular bodies of ice,
(unlike Denmark, where it is illegal to skate on natural ice that has not been approved by the police)
and everyone is expected to make their own judgement about where and when it
is safe to skate. This may sound dangerous, but with the right equipment and knowledge
making a mistake is not as dramatic as most people think. Indeed as a keen
recreational skater there is a good chance that you will at some point go through the ice
and end up swimming in icy water, and you will almost certainly walk away from the experience with nothing more than a bad cold and a good story.
Continuing the bicycling comparison, the probability of occurance and the likely
severity of an ice-breaking incident is comparable to falling off your bike.
Yes, skaters do drown, but it is very rare, and even dramatic rescues are
seldom needed for recreational tour skaters.
And this is because just like all the cyclists who have never crashed their
bikes but still wear a helmet, smart skaters always have their safety equipment
with them.
This is very important, because without it, the chances of getting back up on to the ice
are dramatically reduced, and although I said that few recreational tour skaters
get into trouble, there are many fatal incidents involving unprepared
individuals on the ice, so I don't want to give the impression that natural ice is safe,
just that many of the dangers can be controlled for planned tour skating.
Equipment
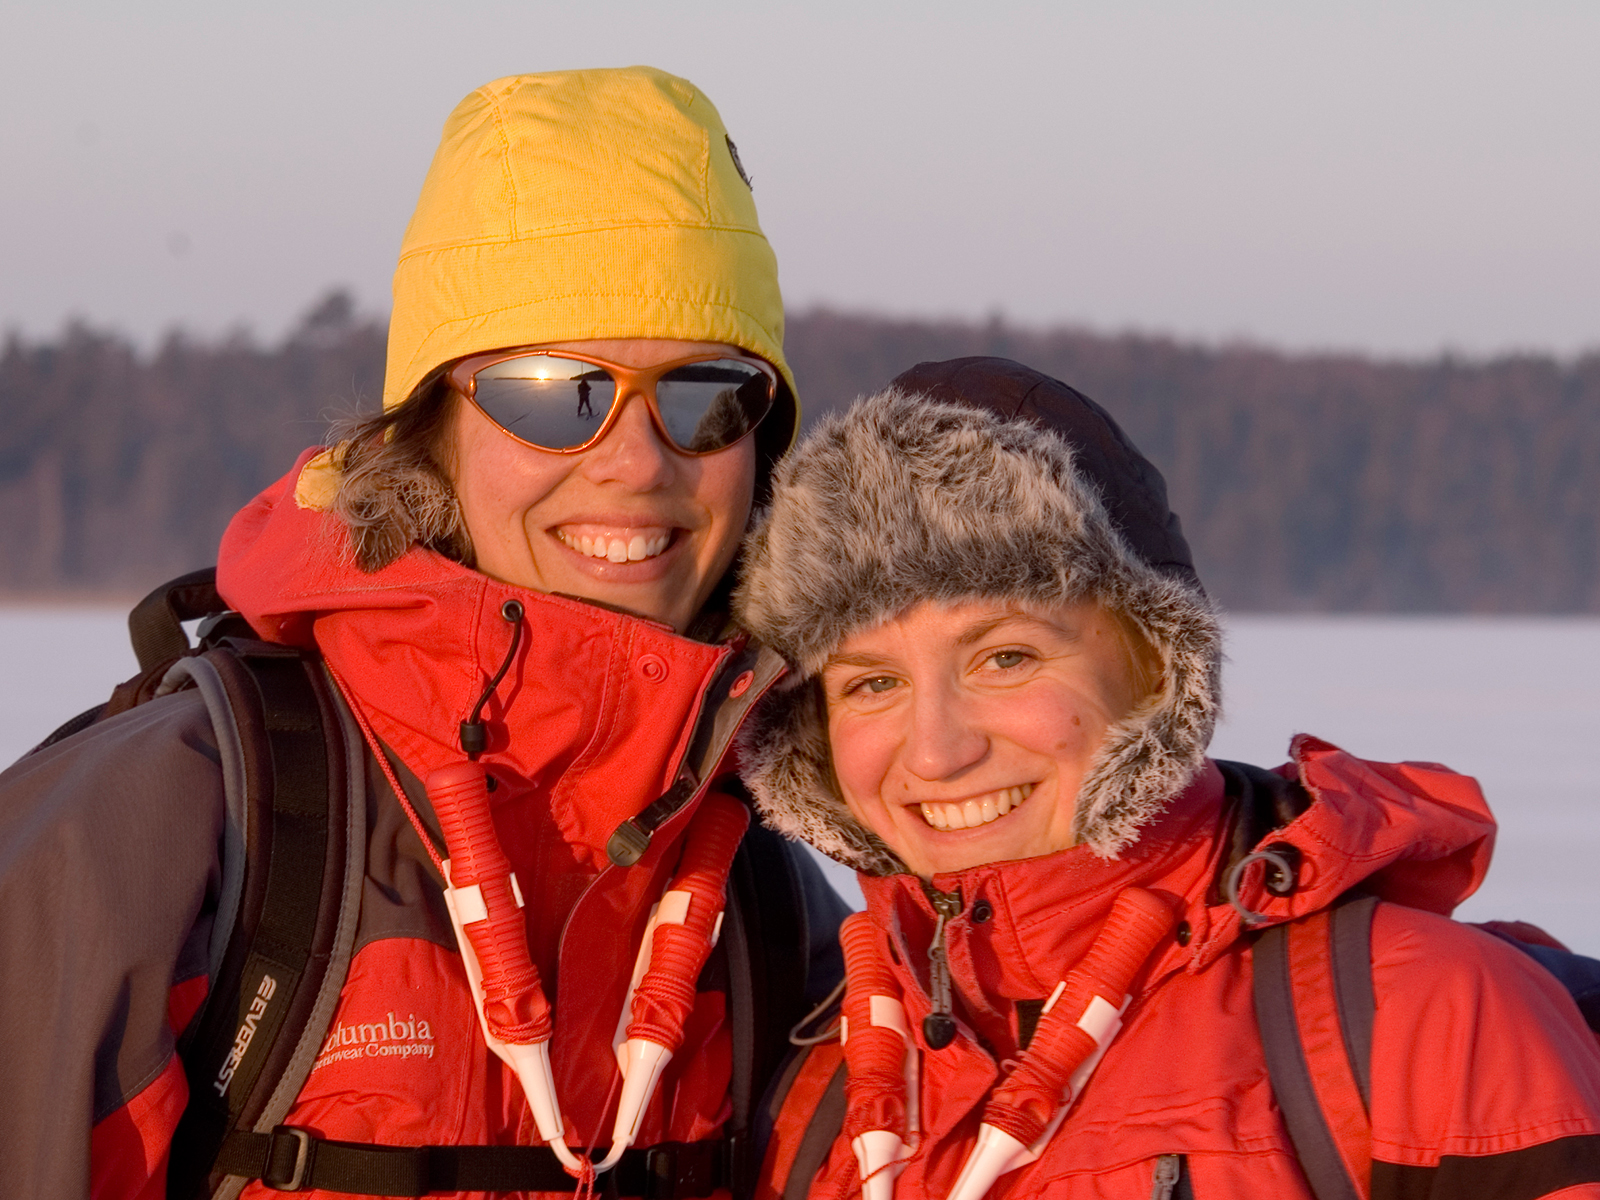
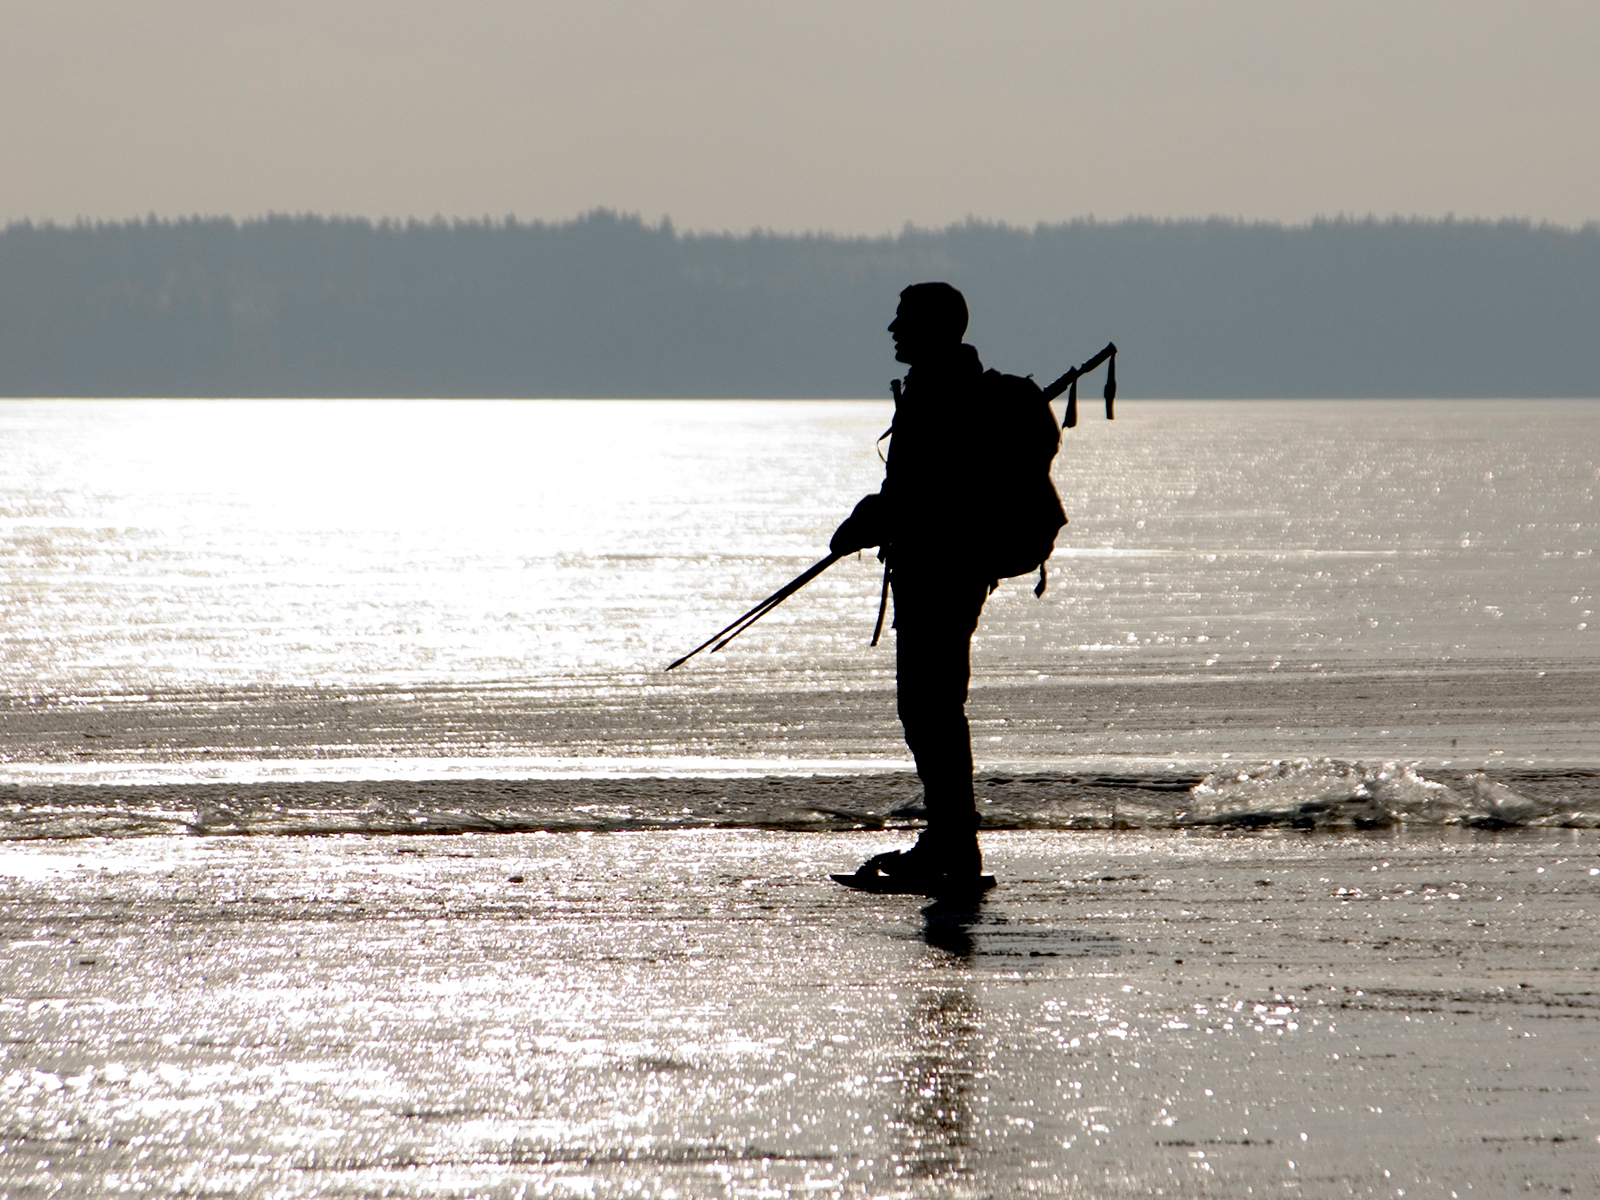 The two most important pieces of safety equipment that should always be with you
you on the ice are a bouyant backpack and ice claws. The backpack acts as a lifejacket, and
so needs to be firmly attached to your body by a waistbelt or leg straps, and
gets its bouyancy from the sealed bags that contain the dry clothes that
you are going to need in a few minutes.
The ice claws are a pair of spiked handles that are worn like a necklace
so that
they can quickly be grabbed in the hands and used to get purchase on the ice
as you pull yourself out. They should be worn very high on your neck so that they don't flop around and can't float off over your head in the water.
90% of the time self rescue can be accomplished
undramatically with these simple tools, but if the neighbouring ice is too thin
or broken to pull yourself up on, then a throw line with one end attached to you
should be available (and within reach without taking off your pack) so you can be
pulled closer by a rescuer who is on safer ice. But then you wouldn't be in
the water if you had used safety item number four, your ice pike, a metal-tipped
stick with which you test the strength of the ice. Last, but certainly not least,
is company, which you need to catch the other end of your throw line and help
you change into dry clothes. Ideally you should be more than two, since a
pair travelling together has a good chance of going down together.
And just in case your company is not close (or too close...), you should have a non-freezing (pealess)
whistle to attract attention.
If you do go through the ice, you should turn back to the ice you came from, since that
is almost certainly stronger than the ice ahead.
There is more about going through the ice here.
Other equipment that you might want to have with you includes kneepads and a second pole. Tripping on to an unprotected knee is immensely painful, but even if you don't fall, pads are good to have whenever you kneel on the ice, to put on your skates, take photos, or rummage in your pack. Carrying a ski pole as well as your pike (or two ski poles if others in your group have taken on responsibility for checking the ice) gives you a pair of walking sticks for where the ice is very rough or has over-ice, and also for when you have a strong headwind. Indeed some people choose to use poles all the time, which is fine if you want a full-body workout, but for me it spoils the relaxed easy style that I love about the sport. On the other hand, poles really annoy the purists who take skating too seriously, which seems like a good reason to use poles...
Ice
There are many types of ice, and the Swedes of course have words for all of them.
Here are some of the ones of interest to skaters :
Black ice is the best for skating, being smooth and strong. 3cm is enough to support a person, 10cm for a car.
It's the first ice that forms in good weather, and has a very regular three-dimensional
structure with very little air in it. The first black ice is what we all dream of through the autumn.
The ice later in the season is never as clean and continuous as this first ice.
Snow ice forms when snow falls into freezing water, creating a grey/white air-rich mixture
that is generally rougher, softer and weaker than black ice.
Soak ice is similar to snow ice, but forms when the snow lands on existing ice, and water
seeps up as the ice sinks due to the additional weight of the snow.
Sea ice is weakened and softened by salt crystals.
Spring ice forms when other forms of ice slowly transform under the influence of high temperatures.
It develops vertical columnal crystals that can slide against each other thus making even
very thick ice treacherous. A cold night can make the columns cohere to make the ice
feel safe, but a few hours of sun can dramatically weaken them again. If you need to
read this introduction to ice skating, then avoid spring ice at all costs.
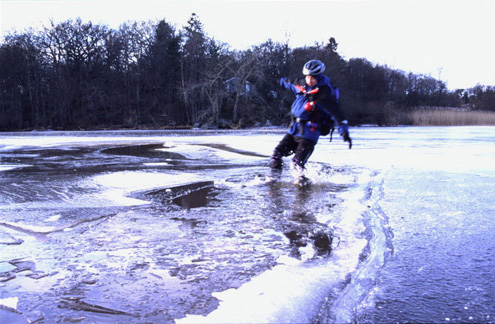
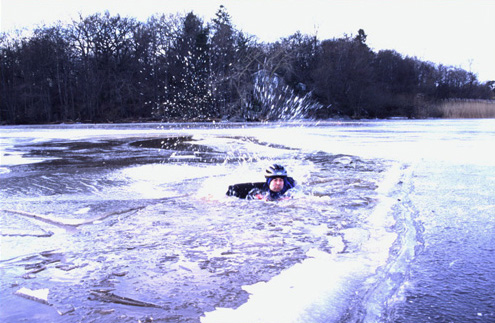 It's an unfortunate myth that thick ice is safe, and I always worry when people ask me how thick the ice is, rather than how safe it is.
Even thick ice will have cracks
and holes in it, and indeed thick ice will also be old ice that will have been subjected
to the stresses of thermal expansions and contractions, and so is more likely to have
cracks opened in it. These cracks usually form in approximately the same place each
year, so locals will know where to be careful. Large weak or open areas can also appear
in otherwise good ice, again occuring in the same place each year, though it's often hard to
explain the physics behind these areas. Easier to explain are the weak points that are
found near inlets and outlets, reeds, shoals, jetties and bridges.
So please don't be one of those people that thinks it's OK to go out with no safety equipment
just because the ice by the bank is 20cm thick.
The surface of the ice can also take many forms, with virgin black ice again being the ideal.
A thin layer of snow, or even a thick layer of fresh powder, presents no problem
for propulsion, but is a big problem for judging the quality of the underlying ice.
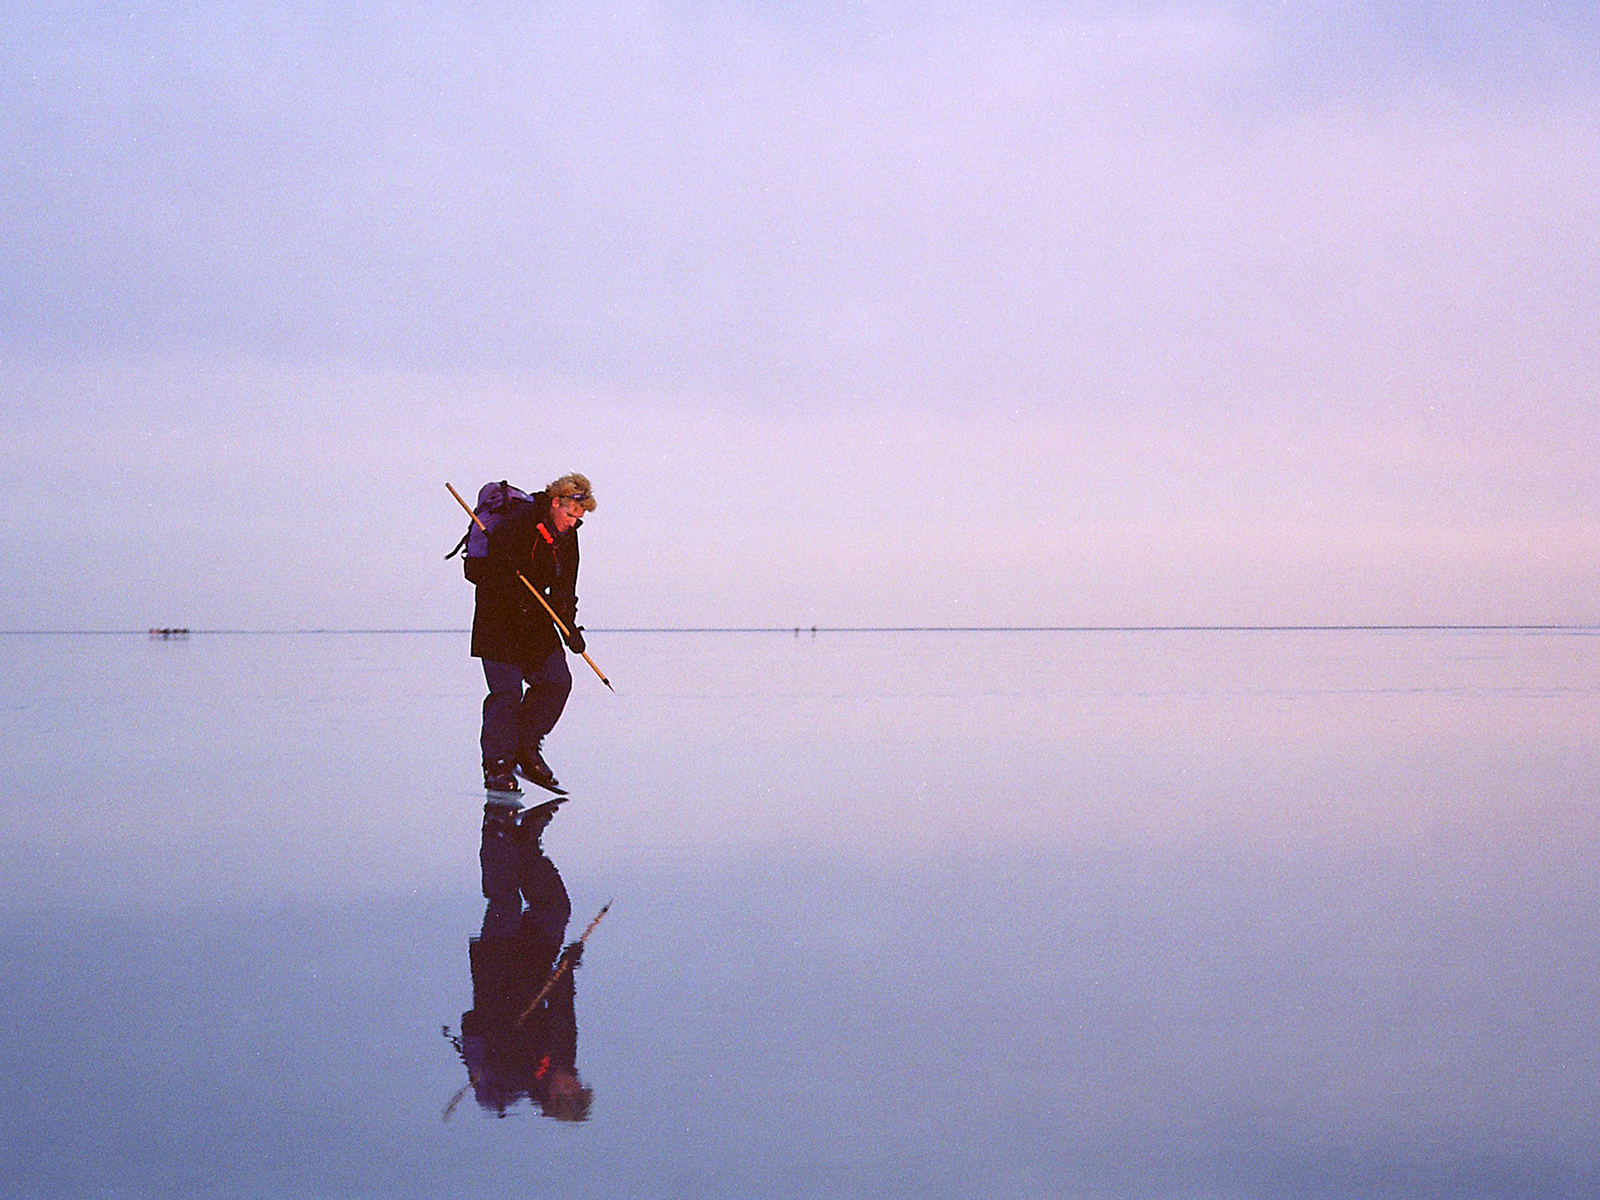
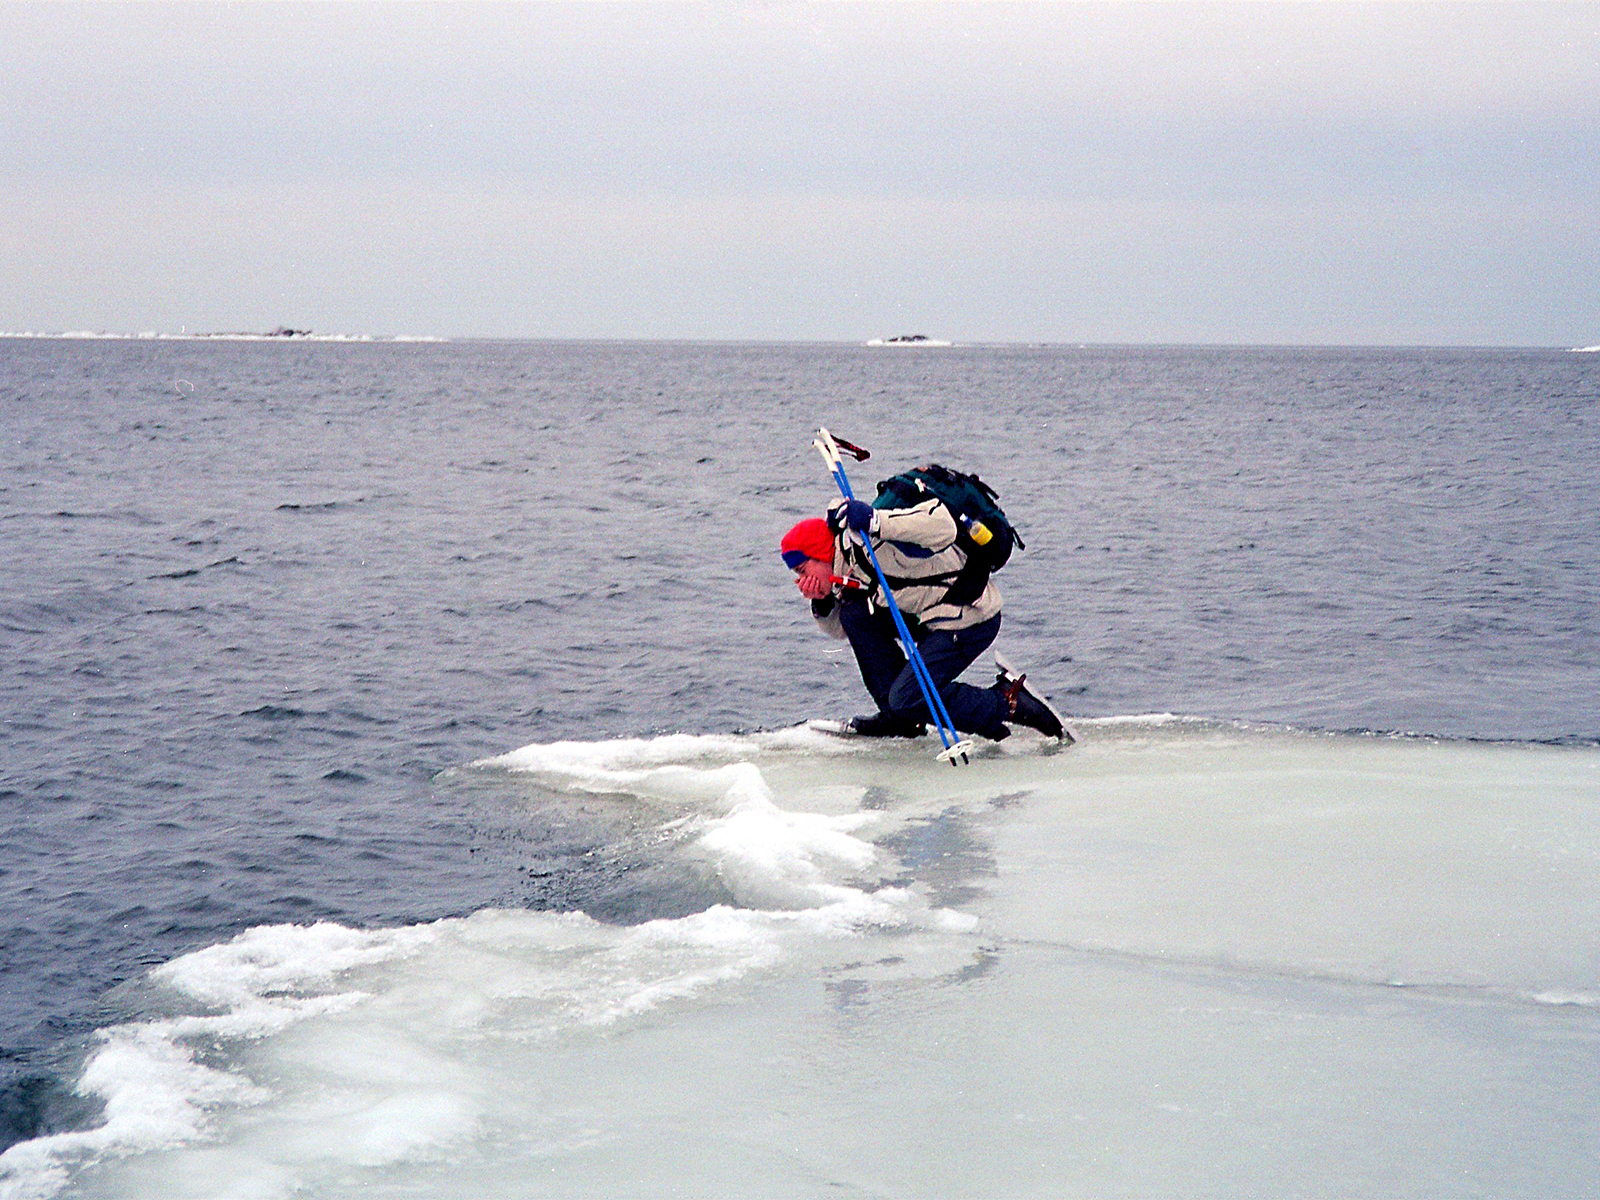 Even with a pike it's not practical to test the ice every step, so visual cues are what's
normally used to judge whether the ice is changing and needs to be tested gain.
Snow covered ice is thus dangerous without further information, such as reports from
before the snow came.
Patchy snow is also a problem because it's hard to judge which are the thick or hard patches,
and it's easy to trip over the bad ones. Snow also insulates and can cause the underlying ice to weaken.
When the snow partially melts and refreezes (or transforms over time), it often forms an uneven
surface that is uncomfortable to skate on, so after a snowfall skaters hope for rain to
completely melt the snow and refreeze as black ice. But if it rains too much there is the danger of over-ice forming, where a new ice surface forms with a layer of water underneath.
This is very hard to see, and if your skates break through the upper surface they will stop dead
and you will most likely fall on to very sharp ice shards. This is a major cause of nordic skating
injuries, often causing nasty facial cuts. Keeping your weight back on your heels and keeping
one foot in front of the other can help you keep your balance when you hit over-ice.
Glass ice forms when the water layer under over-ice runs away, leaving a layer of air instead.
This is much easy to see than over-ice, but much sharper if you do fall on it.
Technique
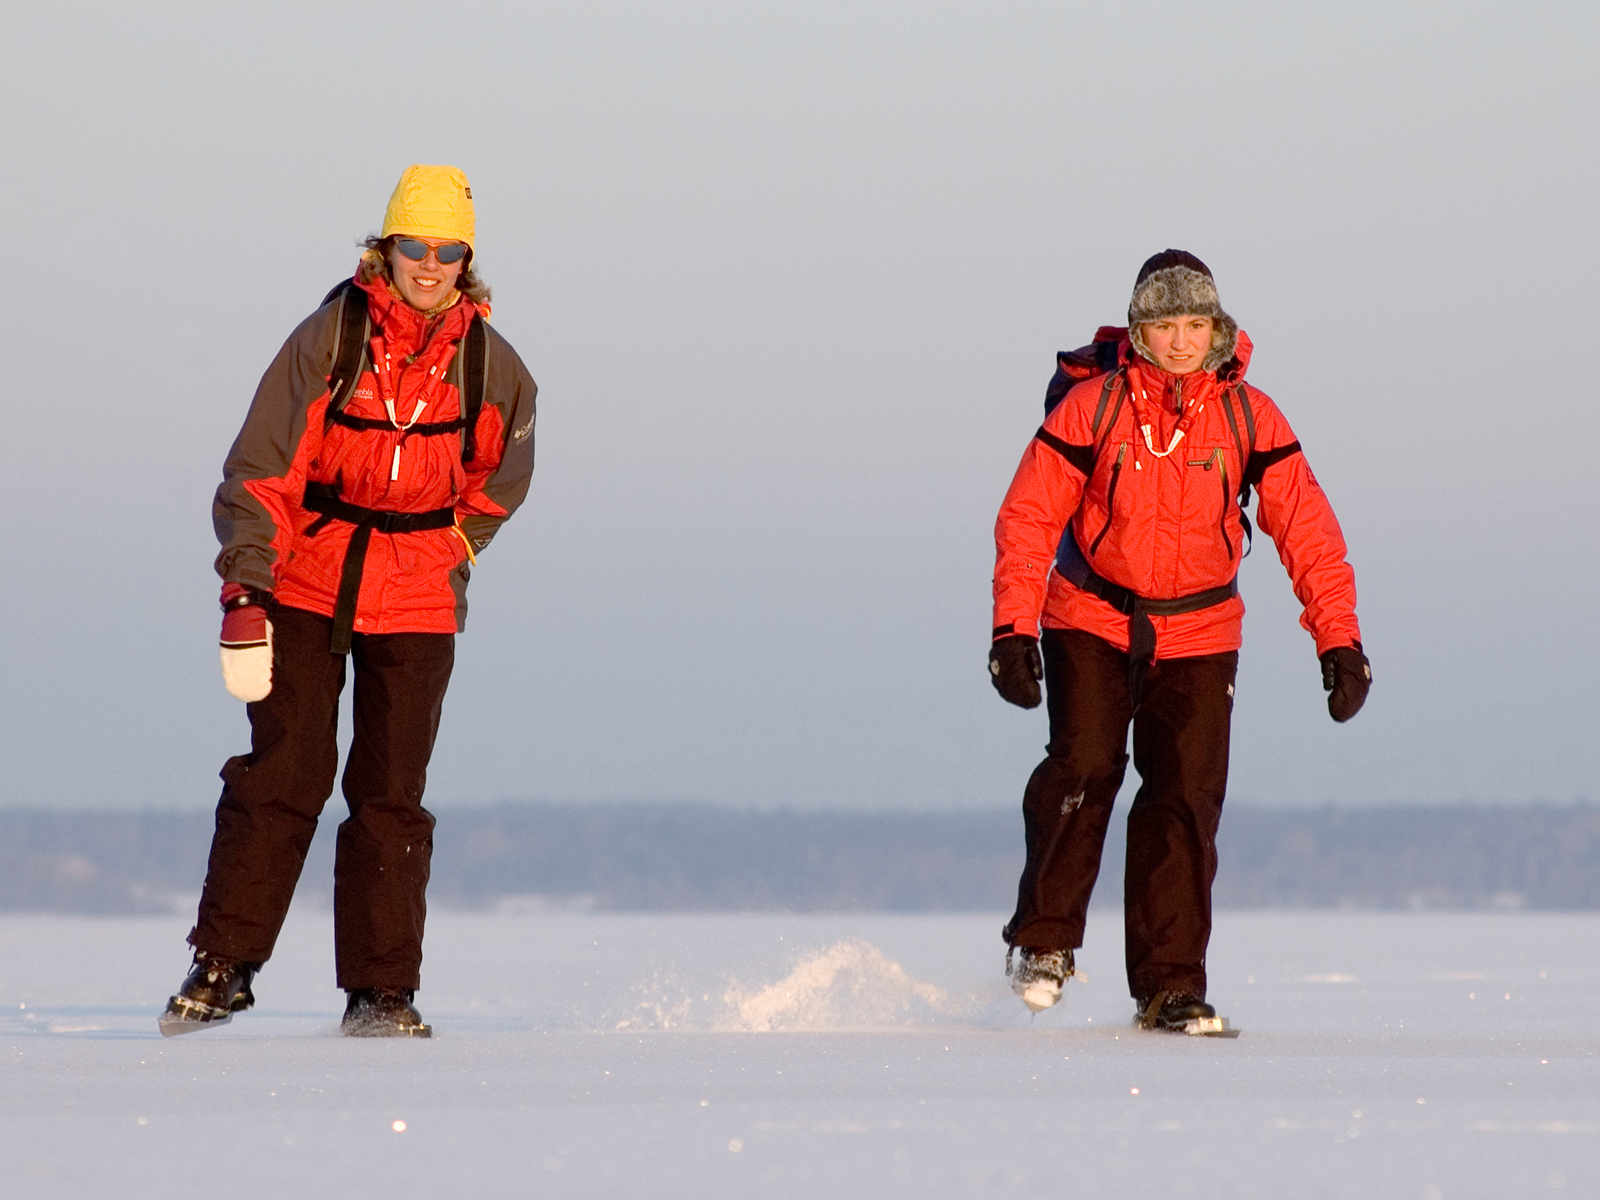
 Any beginner stepping on to the ice with nordic skates will be able to propel themselves
forwards in some fashion, but better technique will save energy and discomfort.
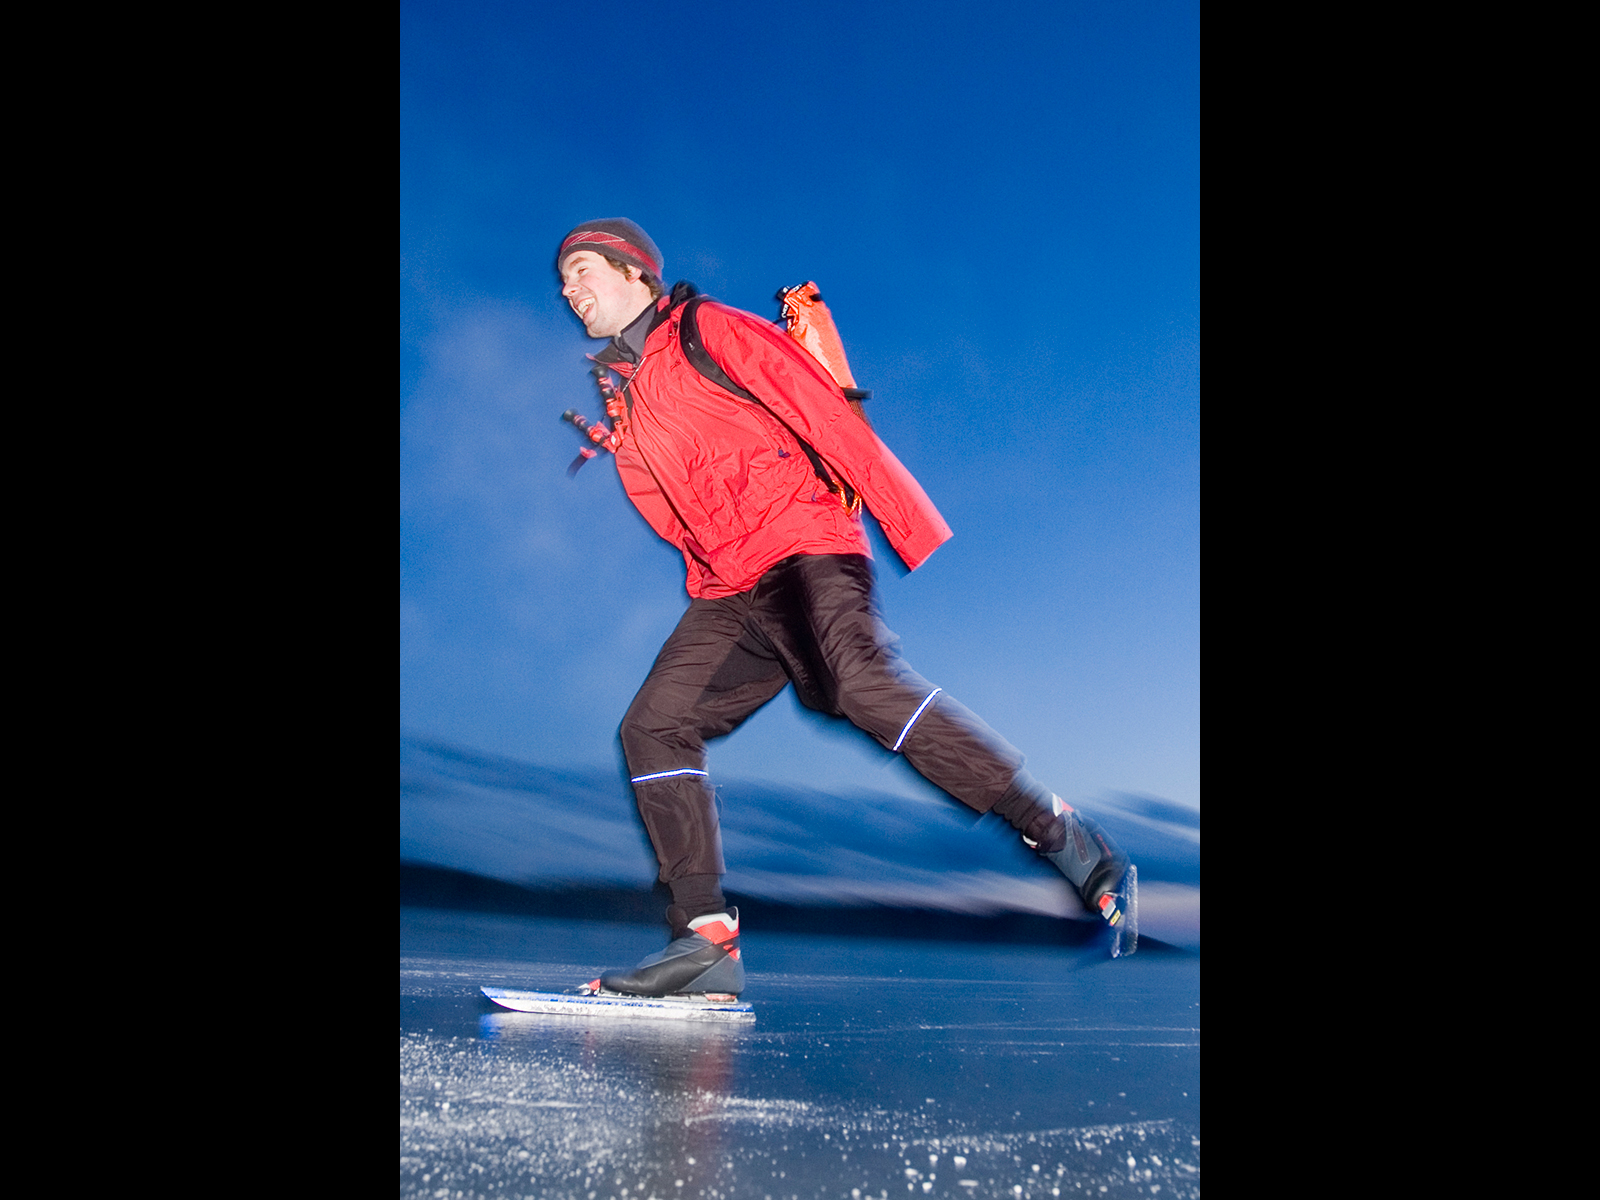
The obvious way to skate is to keep your weight between your skates and lean away from
the pushing foot, as this means that if you fall you can catch yourself on the other foot.
But this also means that a lot of energy is wasted rocking your body from side to side,
so a more efficient technique is to try to keep your body moving in as straight a line as possible,
with your weight directly over the gliding foot, and bringing your kicking leg back all
the way under your body without leaning to meet it. This is a bit scary, as if you get it
wrong and have your weight too far out away from the kicking leg, there is no way to recover
from the fall. But you soon learn where that outer limit is.
It's also good to fight the tendency to kick backwards, and kick more to the side,
and to avoid overusing the toes,
which will rapidly tire your shins. Aim to kick through the middle of your foot, and glide
as far as is comfortable with each stroke, lifting the resting foot as little as possible.
The angle your skate makes to the direction of travel corresponds to different gears on a car - the more parallel it is, the higher the gear and maximum speed, whereas a greater angle gives more power and acceleration.
I still remember the moment when I first got the technique right, and it was like getting a sailing boat up on a plane - suddenly everything felt effortless, with just my feet rocking from side to side under a steady torso.
Update 2024 : Fashions change, even in ice skating, and it's currently trendy to skate with a style where you change direction slightly with each stroke, and lift your leg so that your foot describes a vertical oval.
This looks elegant, but it's hard to believe that it's as efficient as following the golden rule of all endurance sports, where you aim for a 'quiet upper body', keeping most of your weight travelling in as straight a line as possible. Wagging from side to side and lifting your feet up and down costs energy, as does lifting your foot. It's the style speed skaters use, but they are looking for maximum speed over a short period, not long-term efficiency.
Conclusion
Well, I hope I have given you a feeling for what tour skating is like in Sweden, and that I've conveyed that although there are dangers involved in the sport, it can be very safe if you take some simple precautions.
©1998 Mark Harris