





The problem with Gallery Wraps is that a lot of image is used up on the edges, so unless you have
a lot of uninteresting background the composition will be spoiled.
To get around this problem you can add extra pixels around your original image,
whose only purpose is to decorate the edges. A very effective way to do this
in a seamless fashion is to duplicate and reflect the outermost pixels of your image.
For the mounting frames that I use (bought at Uppsala Färg or Clas Ohlsson),
I need 2.5cm of extra material to be sure of covering the frame edges,
and what follows is my workflow for a 50x70 print from Crimson in Stockholm.
Note that smaller sizes cost almost as much as this size, and small canvas prints look unsharp,
so think big even for your first tests.
If you have photoshop CS5 or above, then you can use the remarkable content-aware
fill tool to pad out the white space, but otherwise you can do as
follows :
Use the Marquee tool (M) to select a box that extends the entire
height of the image, and extends in 2.5cm from the left-hand edge.
Copy this selection and then paste so that it appears in a new layer, and
then drag the copy so that it fits into the white border on that side (pic 3).
Note that you could use this filling as the edge decoration, but the seam
between the clone and the main image is most likely ugly.
But if you now mirror-flip the clone (Edit-Transform-FlipHorizontal),
the transformation from image to edge-decoration becomes seamless, since
identical pixels are ajoining (pic 4).
Now repeat for the other edges (pic 5).
Your joins may still look a bit odd if you have distinct patterns at the interface,
and if so you can do some artistic cloning to break up any obvious mirror
symmetry (pic 6), but remember that problems will be much less noticeable
when mounted, since they will go around the edge.
To protect the main image from your cloning, work on two opposite
edges first, then merge the layers before doing the other two, so that
you don't end up copying white corners.
The next step is uprez the file for printing. You can leave this to the printers,
but I prefer to do it myself. Go to Image->ImageSize, and select "Resample Image : Bicubic Smoother",
then set the resolution to at least 150 dpi (I use 280 dpi just because I can).
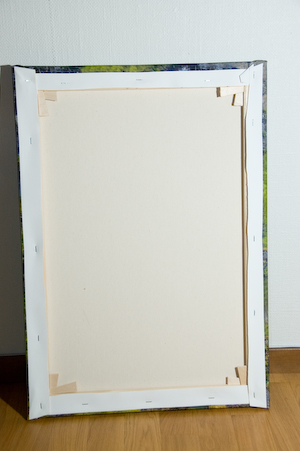
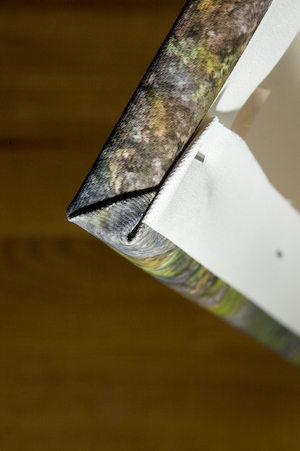
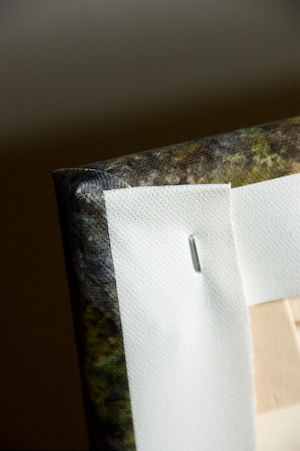
Lay the frame on the back of your canvas printout, and carefully centre it. Then fold the canvas around the frame, pulling as tight as possible, but making sure that the frame is square. I put a single staple in the middle of the short edges at this point. I make the corners like I would if I were wrapping a present, and make the fold land on the top and bottom edges rather than the sides. There may be a standard way to do this, but mine look just as neat as the ones I see in shops, so guesswork seems to work fine.
Then fix the canvas on the back of the frame with a staple gun. A regular stapler would probably work fine too. Finally you can tension the canvas more by bashing the little wooden wedges that came with the kit into the joints at the corners. These are really for painters who need a very tense canvas to paint on, but even pre-printed photos look better with a little extra tension. Make sure the frame doesn't go out of square as you do this.
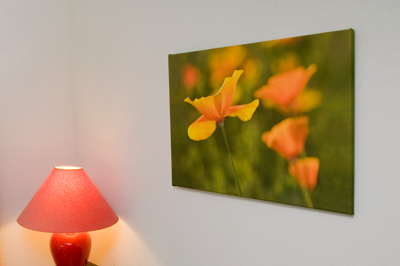
Here are some pics to help (notice that I messed up the fold on one corner. It doesn't show on the wall.)
Hover over a picture for text.


And that's it. I've done about 10 mountings now, and haven't hit any problems yet.
Good luck !
Mark