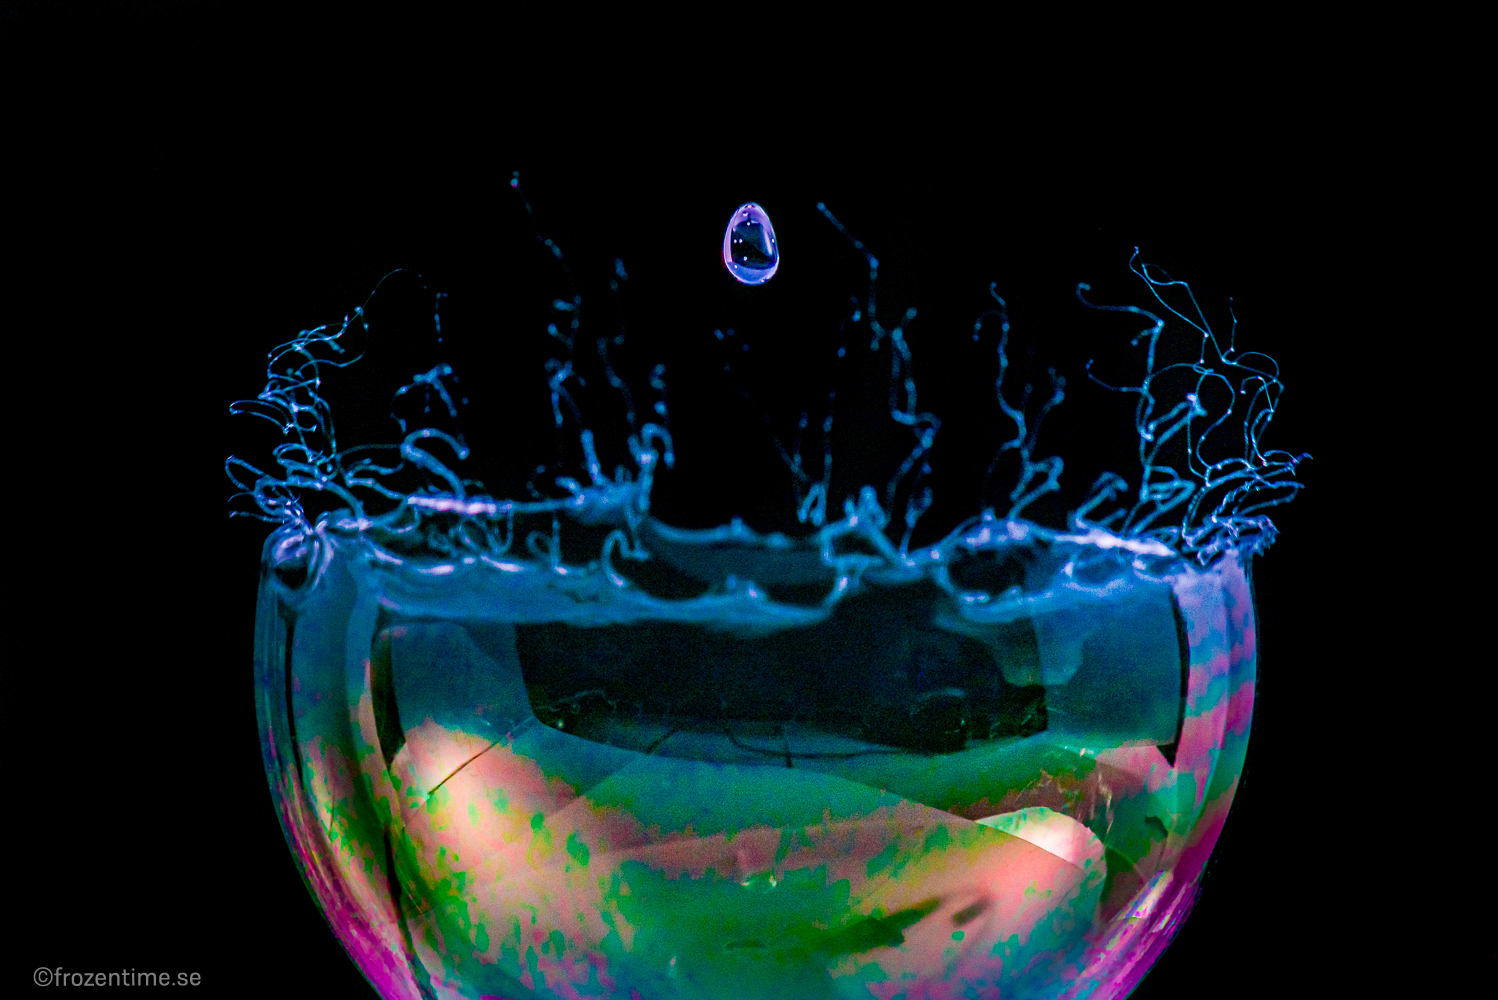
 Having photographed a lot of bursting balloons and conventional high-speed water-drop splashes (slideshow), I thought I would combine these techniques and try my hand at capturing bursting soap bubbles. Not only would it be a change from all the usual splash pictures, but I thought the process would be faster, and thus be an excuse to use our DIY microsecond LED flashgun. Except it turned out not to be so fast, so I ended up using standard photographic flashes anyway.
Since I had a suspicion that I might need more than one attempt to get the shot I wanted, I built an Arduino-based controller that when started went through the following sequence :
Switch off the work-space lighting.
Open the camera shutter.
Start a motor that spins a screw drive that in turns pushes the plunger into a syringe that pumps ethanol along a tube to a nozzle.
Waits for the photocell to detect a drop falling through a laser beam.
Waits a predetermined time to allow the drop to reach the bubble.
Triggers the flashguns.
Stops the pump, closes the camera, switches the working lights back on.
I had hoped to automate production of the bubbles too, either with a syringe or a centrifugal fan, but ended up blowing them in the conventional way, catching a suitably sized one on the loop, and manually positioning them under the nozzle, with the top surface positioned visually below the nozzle.
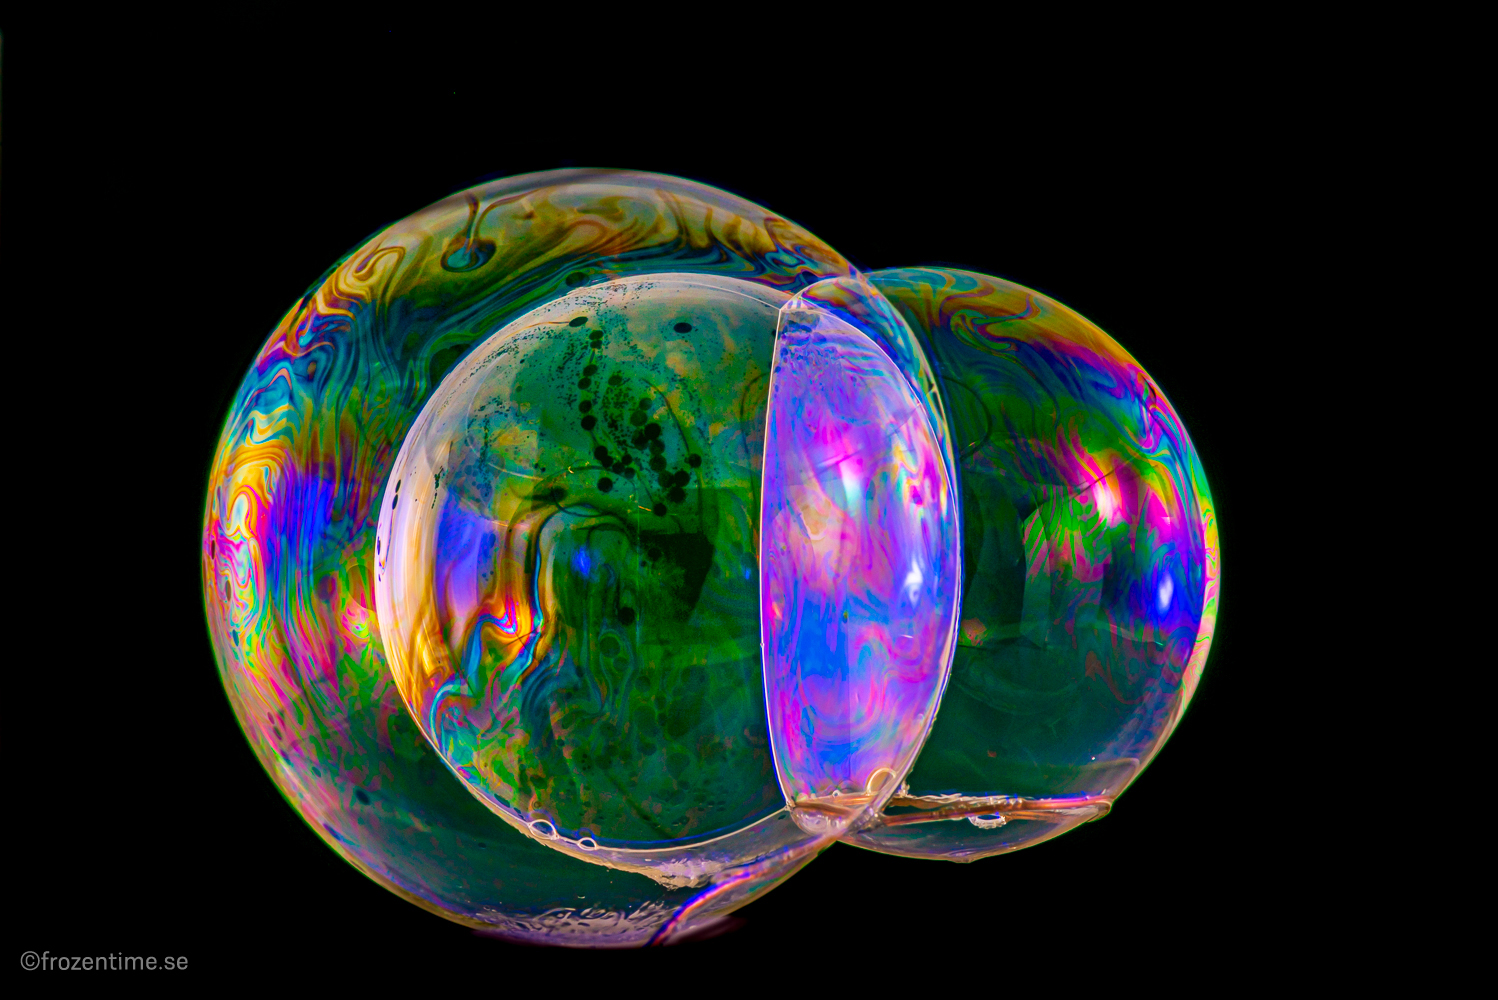
I also wanted to see the oily colours that we associate with bubbles, which are interference patterns caused by internal reflection of the light within the bubbles skin. For these to be visible, the thickness of the skin must be approximately the same as the wavelength of light (~250nm). This is affected by both the composition of the soap solution and the age of the bubble - the bubble skin gets thinner with time, which is what causes spontaneous disintegration. Freshly blown bubbles may be too thick to see colours, and when about to burst naturally, they may be too thin.
Lighting also affects the visibilty of the colours, and for maximum strength you want a black background, but diffused white light from everywhere else. A giant pin-pong ball with a circle cut for the camera lens, and another circle cut out opposite for the background would be ideal, but for practical reasons, I just piled translucent plastic sheets around as much of the area as possible. This led to a lot of angular artifacts in the reflections, and if I pick up this project again, I will make a greater effort to smooth these out.
To get the fastest exposure possible, the flashguns were set to the lowest power posible, and to get maximum depth of field, the lens was stopped down heavily, which meant using a high ISO, and resulting noise in the images, yet still not enough depth of field. The flash exposure time was around 100 microseconds.
Originally the Godox V860II was triggered by a signal from the Arduino, and the overhead AD600 was then triggered optically, but this caused blurred images, which caused a digression to build an Arduino oscilloscope which showed that the optical trigger had a lag of approximately 50 us (scope trace), so after that the controller triggered a radio remote (R2 SP) that could trigger both flashes simultaneously.
The results of the project can be seen in the following slideshow.
And here is a slo-mo video of water drops falling through and eventually bursting the bubble at 1000 fps : Slo-mo bubble bursting video.
I don't feel that I completed this project - none of the images is quite what I was after, and always partly out of focus. I tried using a tilt lens to solve that, but that gave problems with aligning the background, and I gave up before getting the focus plane to coincide with the bursting edge. I may come back to it if we have another bad winter.
© Mark Harris 2020, but feel free to distribute without changes.